Blueprints
A blueprint is your application: a graph of nodes, drawn on the Blueprint Editor canvas, that reads sensors, processes their data, and sends results to the cloud. Deployed to a bundle, it runs on every device that bundle contains — see How the pieces fit together for where a blueprint sits relative to devices, bundles, and fields.
Create a blueprint
Click Blueprints in the sidebar
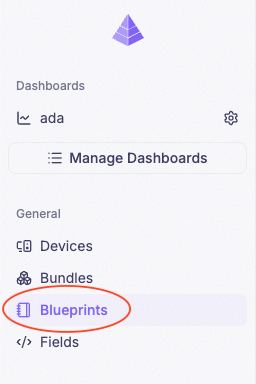
Click New Blueprint at the top of the screen

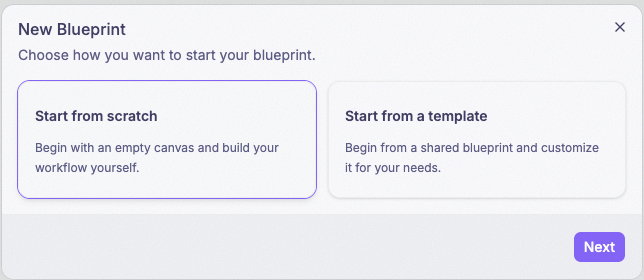
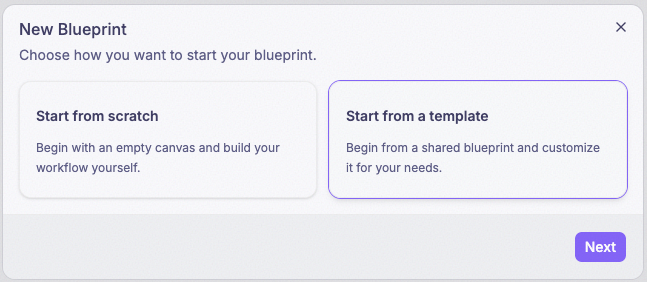
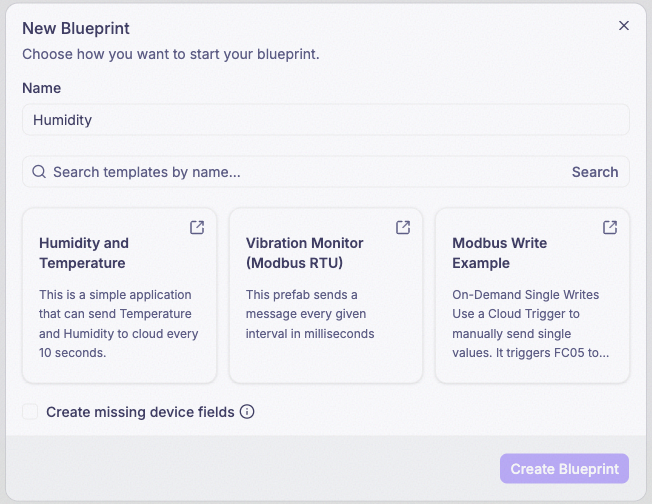
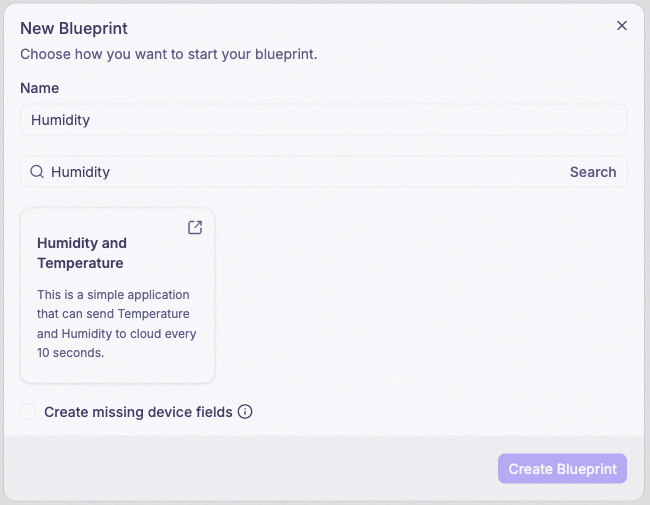
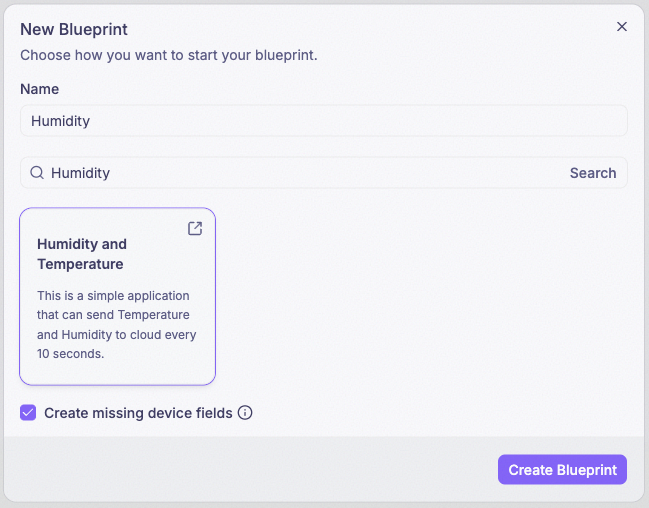
Choose how to start
Start from Scratch
An empty canvas you build yourself.
-
Choose Start from scratch and click Next.
-
Enter a name and click Create Blueprint.
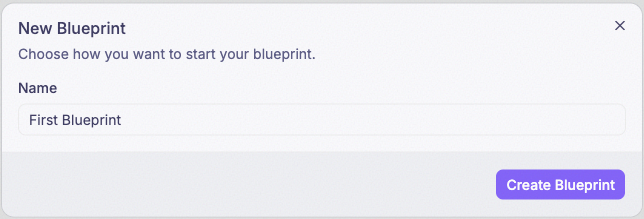
The canvas opens empty, ready for you to drop prefabs onto it and wire them together.
Import and export a blueprint
Besides New Blueprint, the blueprint list page has an Import button in its header and, on each row, an Export Blueprint action. The two are meant to be used together.
- Export Blueprint (in a row’s action menu) copies that blueprint’s full JSON — its nodes and edges — to the clipboard.
- Import (in the list page’s header) opens a dialog where you name a new blueprint and paste in blueprint JSON. Confirming creates that blueprint from the pasted JSON.
Exporting one blueprint and pasting the result into Import is how you duplicate or recreate a blueprint — in your own company, in another company, or as a backup outside Blueprint History. This is a separate entry point from the New Blueprint wizard above, not a third way to start it from that dialog.
Nodes, edges, and prefabs
The canvas is built from three related pieces:
- A prefab is a reusable node template — either built into PRIZM or made custom for your company. It defines what inputs, outputs, and node constants a node built from it will have. The Blueprint Editor’s left panel is this library; you drop a prefab onto the canvas to use it.
- A node is one block on the canvas — a placed copy of a prefab, with its own node constants (a threshold, a topic name, a format string) and typed input and output ports.
- An edge is the line you draw between two nodes. It carries data from an output handle on one node to an input handle on another, and is what turns a set of nodes into a pipeline.
Some prefabs talk to hardware directly and are peripheral-aware — their bus parameters (baud rate, IP address, and so on) are not node constants. They live in the canvas-wide Global Peripheral Configuration panel and are edited there, see Peripheral settings.
Add a prefab to the canvas
Click + on the canvas toolbar

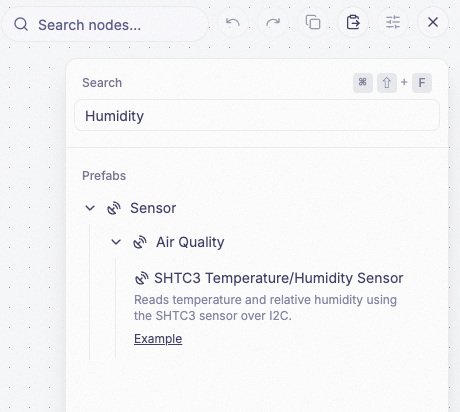
Search or browse for a prefab, then select it
Prefabs are grouped by category. Selecting one adds it to the canvas as a node.
Editing a node’s constants
Opening a node shows its configuration panel, with its node constants split across two tabs:
- Form — each constant as its own structured input; for an array-shaped constant, each entry gets its own card, added or removed one at a time.
- JSON — the same constants as raw text. Pasting a whole array or object here replaces an array-shaped constant in one go, instead of editing entries one by one on the Form tab — the JSON tab is also the only way to reorder an array-shaped constant’s entries, since the Form tab has no reorder control.
The Serial Reader’s schema constant is a
worked example: its steps can be added or removed as cards on the Form tab, but reordering them, or
replacing the whole list in one paste, means switching to the JSON tab.
Update all prefabs
When PRIZM revises one of its built-in prefabs to a new version, any node already on your canvas built from that prefab falls out of date — it keeps running its old definition until you update it.
Look for the update dot on a node
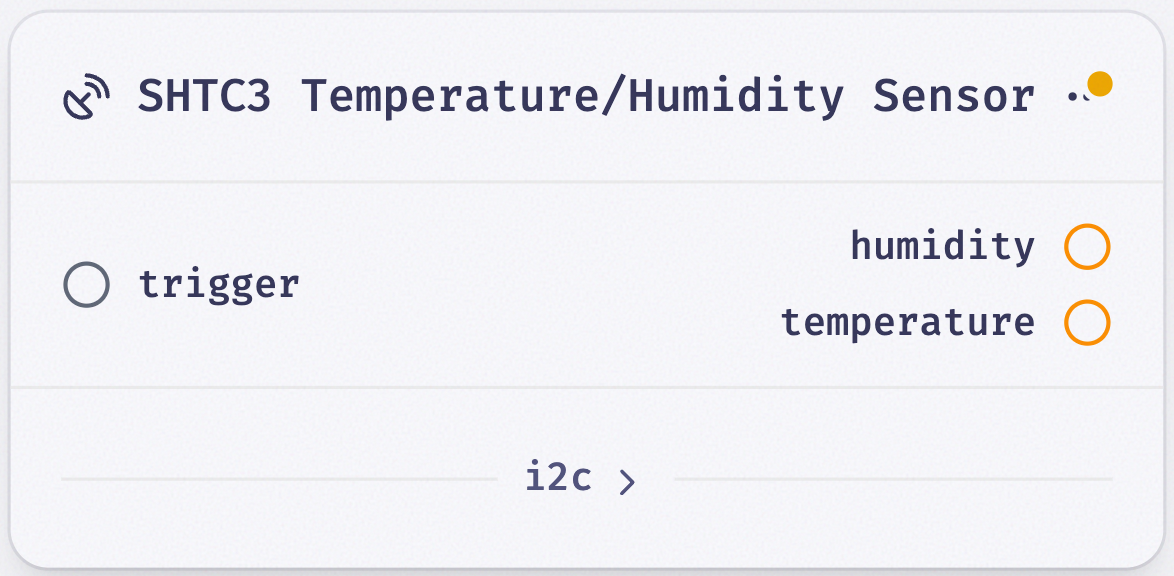
A node whose prefab has a newer definition available shows a small orange dot next to its title.
Click Update All next to the Node drawer

Confirm in the dialog that appears
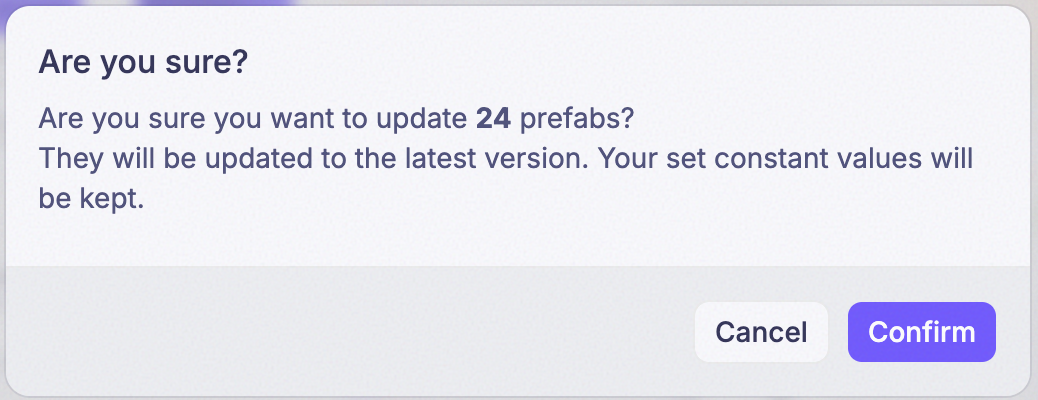
Confirming updates every out-of-date node on the canvas to the current version of its prefab. Constant values you’ve already set are kept.
Deploying a blueprint
Click Ship

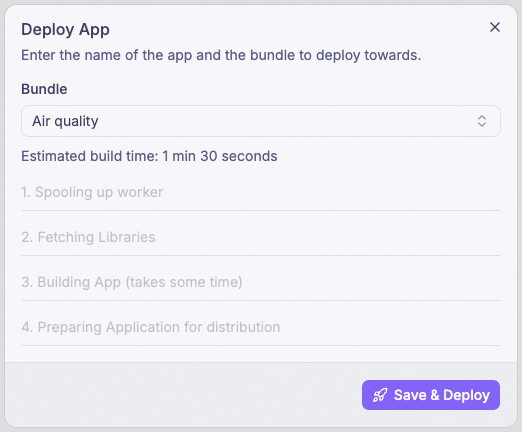
Pick the bundle to deploy to and click Save & Deploy
Every device in that bundle starts running the compiled blueprint, including whatever is currently set in Peripheral settings — the deploy dialog itself only asks for the bundle.
The rules that govern what deploy target, how many apps a bundle runs at once, and what a late-joining device receives all live on the Bundles page — this page owns the canvas, not the deploy mechanics.