Data & Integrations
The Data & Integrations tab is every way data leaves PRIZM Cloud. It holds three cards: a CSV export, your company’s API credentials, and your webhooks.
This page covers creating and managing all three. For what PRIZM Cloud actually sends and how your server should answer, see the Webhook reference and REST API.
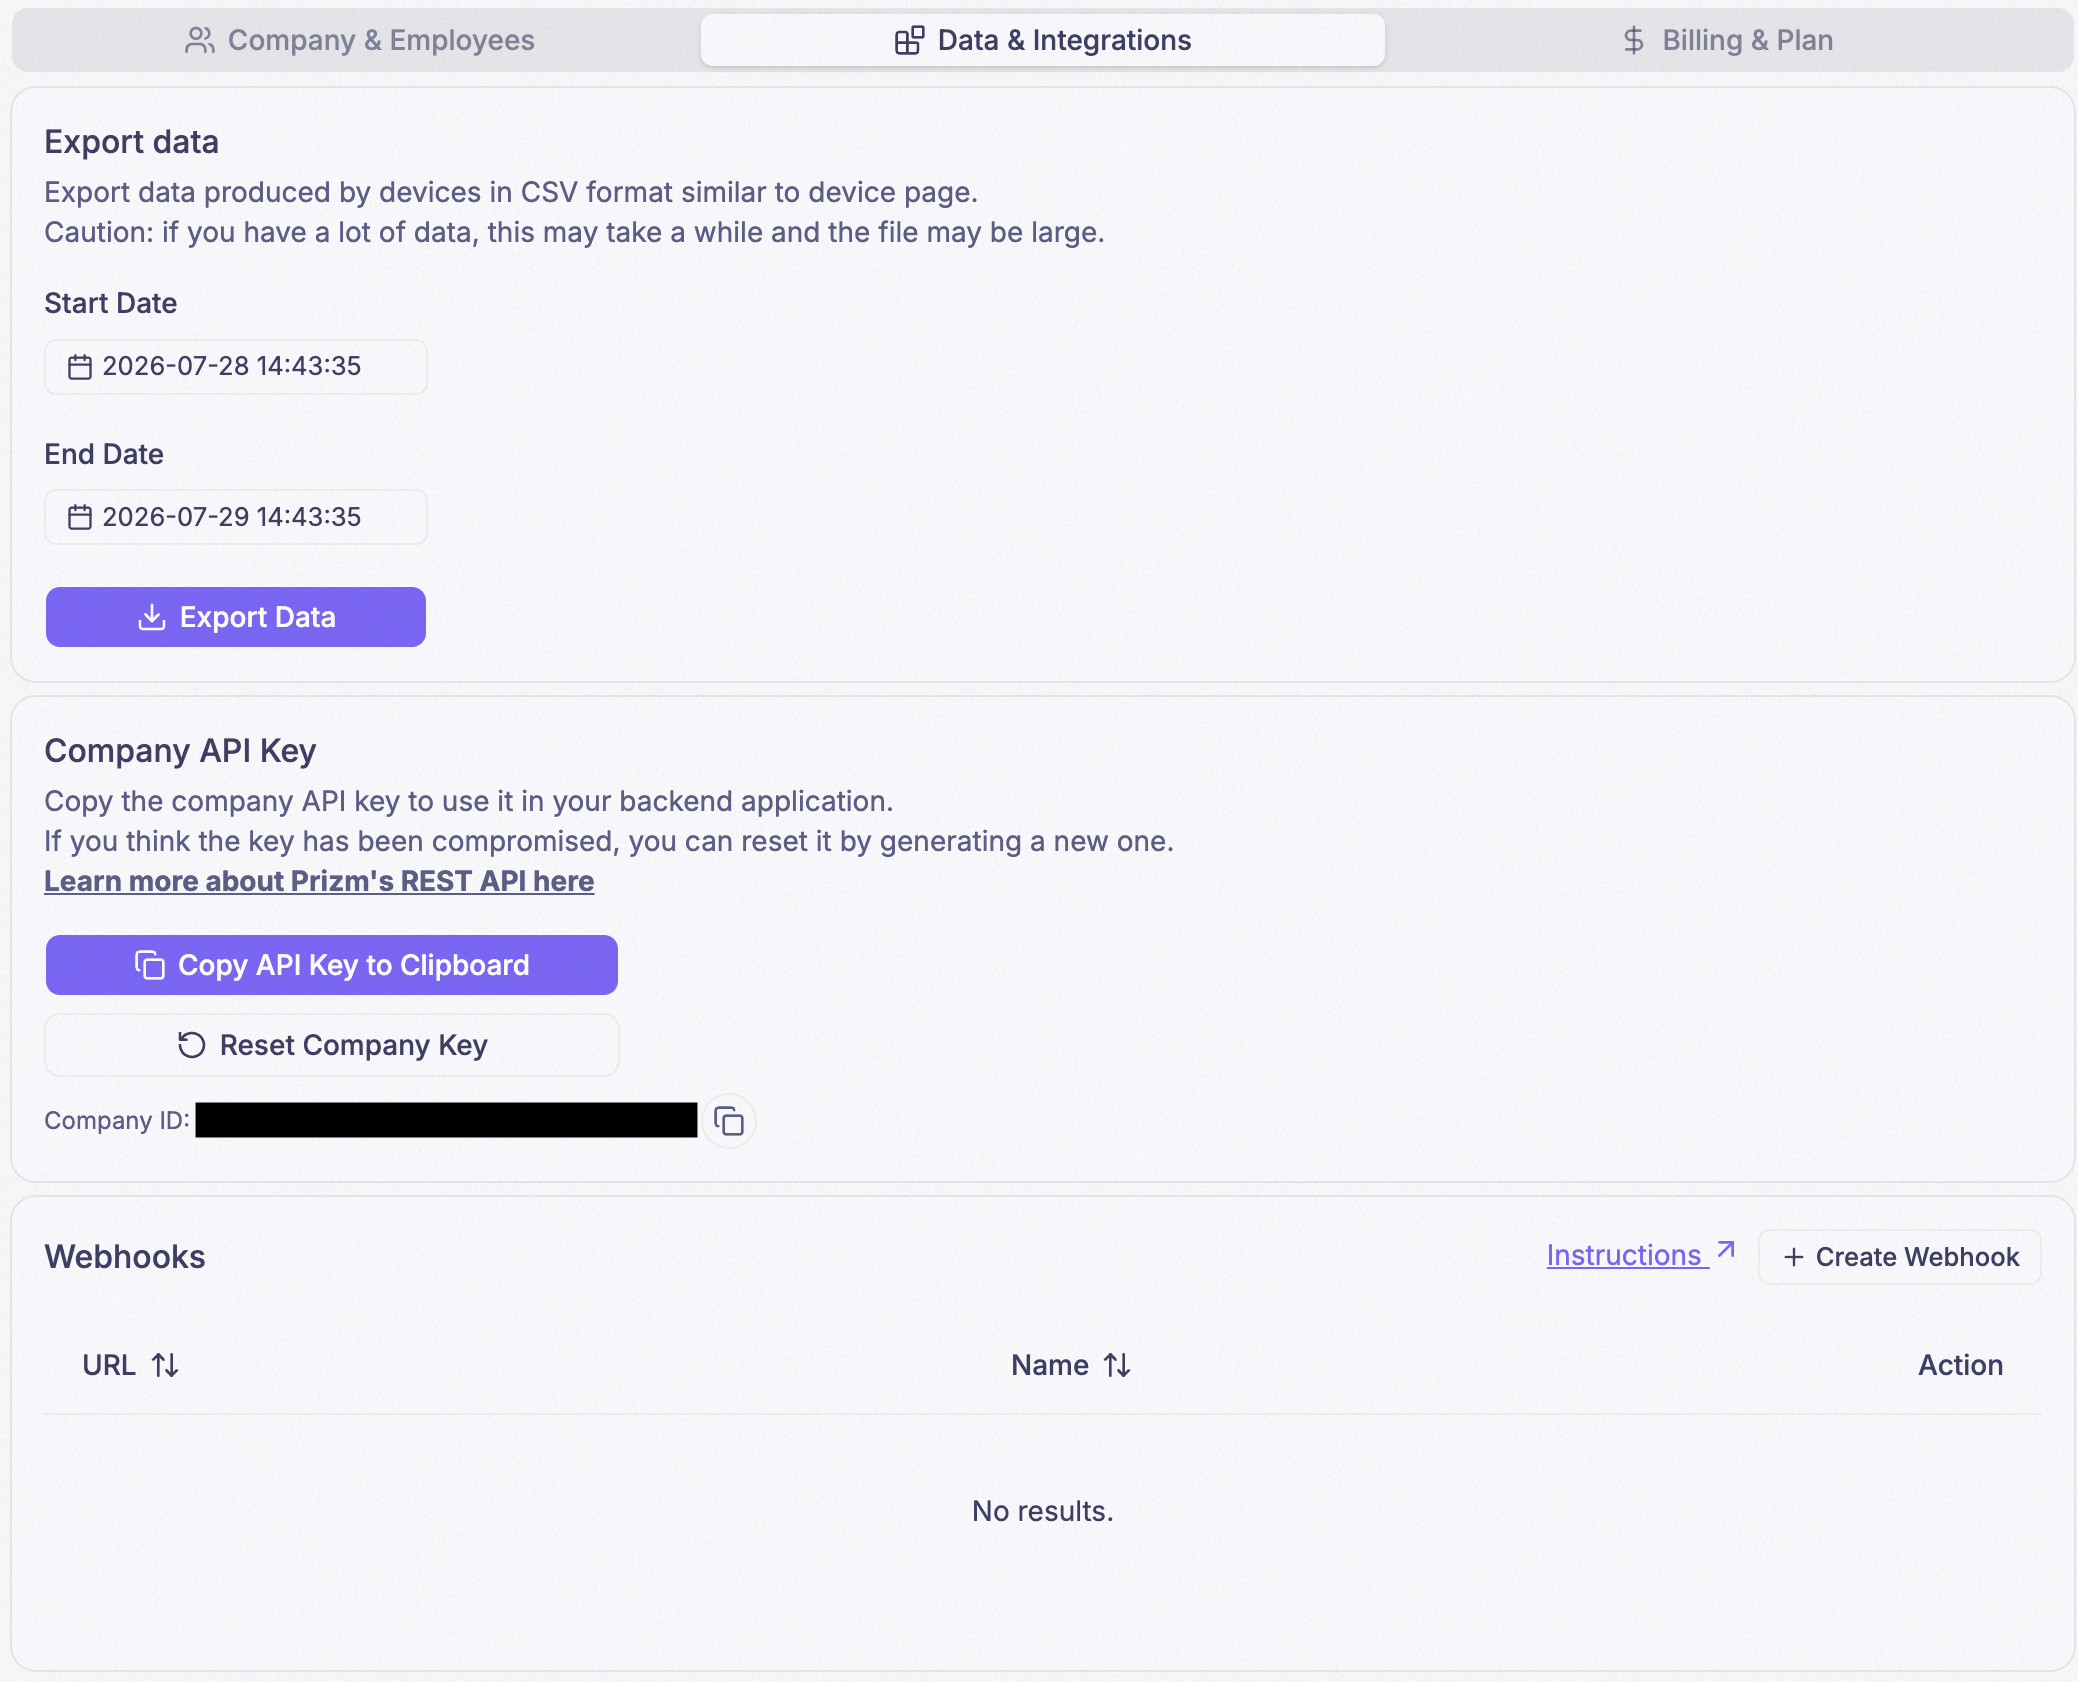
Export data
Download the values your devices have recorded as a CSV, in the same shape the device page shows them.
Pick a Start Date and an End Date
The end date must be after the start date and not in the future. The range defaults to the last 24 hours.
Click Export Data
Three limits worth knowing before you pick a wide range:
- Large exports are slow and the file is large. There is no progress indicator beyond the button state.
- One export at a time per company. Starting a second while the first is still running fails. If a colleague is mid-export, wait.
- The form does not stop you asking for data that no longer exists. A range reaching back past your retention window returns nothing for the part that has expired, with no warning — see Data retention.
Company API Key
Your API key is what your own applications authenticate with. Copy API Key to Clipboard copies it; the Company ID shown below the buttons has its own copy button beside it.
You need both for different things: the key authenticates requests, and the
Company ID identifies your company in payloads and support tickets. Webhook
payloads include it as companyId.
There is one key per company. Every employee and every application shares it.
See REST API for how to send it.
Reset the company key
Reset Company Key issues a new key and invalidates the old one.
Resetting the key takes effect immediately and breaks every application still using the old one. There is no grace period, no overlap window, and no second key to fall back on — every backend, script, and third-party service authenticating with the old key fails until someone pastes in the new one. Reset it if you think the key has leaked; otherwise leave it alone.
Webhooks
A webhook is a URL PRIZM Cloud calls with a POST as field values arrive, so your
own systems can react without polling.
Click Create Webhook
Enter a Name and a URL
The name is for you. The URL must be a valid URL, and should be HTTPS.
Add any Headers you need
Each header is a key and a value, added a row at a time with Add Header. Use these for whatever your endpoint needs to authenticate the call — PRIZM Cloud sends whatever you put here and nothing more.
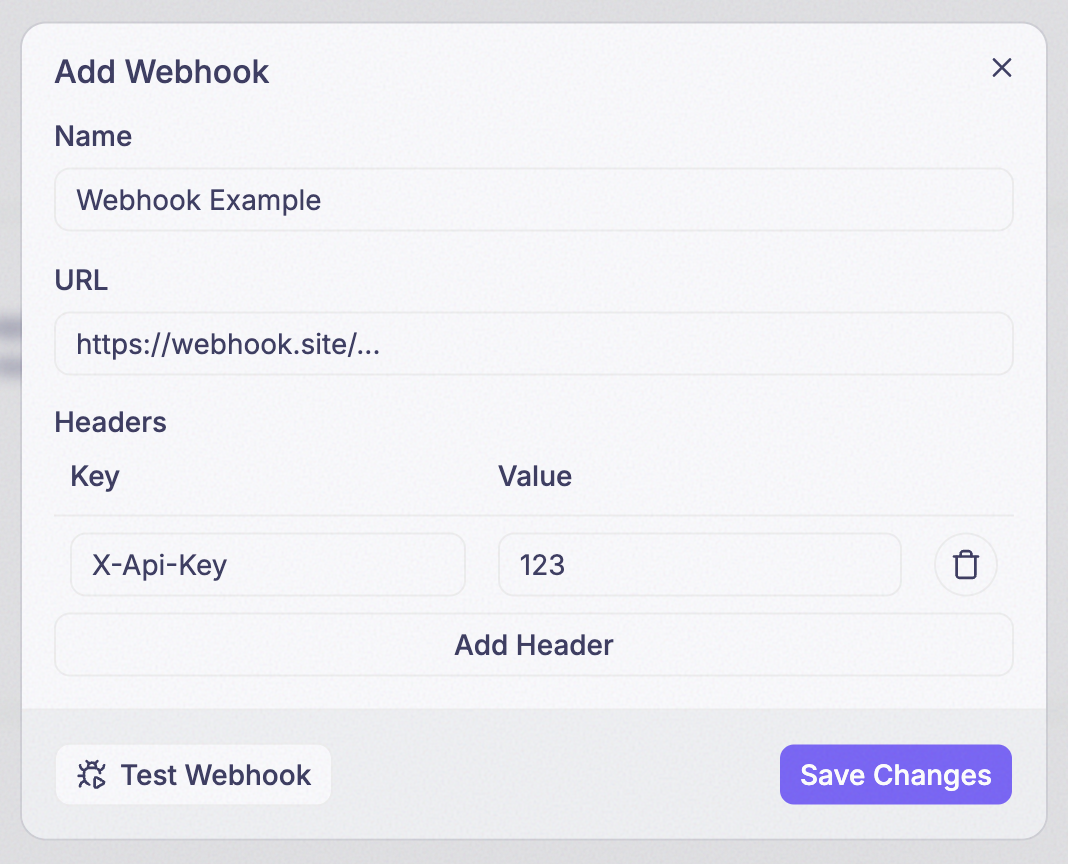
Click Test Webhook
This fires a real request at the URL in the form and reports what came back.
Click Save Changes
Three things about this form are easy to miss:
- The limit is three webhooks per company. At three, the button reads FULL and is disabled. Delete one to make room.
- Test Webhook uses the values in the form, not the saved ones. You can test a URL before you save it, and you can test an edit before committing it.
- Editing and deleting live in the table. Each row’s Action menu has Edit Webhook and Delete Webhook.
For the payload shape, the retry behaviour, and what your server should return, see the Webhook reference.
Who can manage integrations
Everything on this tab requires the Owner or Admin role. Employees with the User role have no access to Settings at all — it does not appear in their sidebar. Full table: Who can do what.