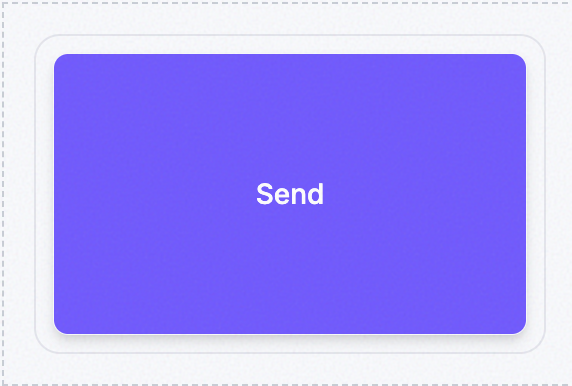
5. Trigger Widget
The one widget that writes instead of reads: a button that sends a command to a device rather than displaying anything a device has sent. Every other widget on this page is a window into data that already exists; Trigger is the only one that reaches back out and changes something. It’s also one of the widgets with no Title or Description field at all — there’s nothing to hover an info icon over here, so the Label on the button itself is doing all the explaining.
- Examples:
- A button to remotely reboot or shut down a device.
- A button to turn a connected light on/off.
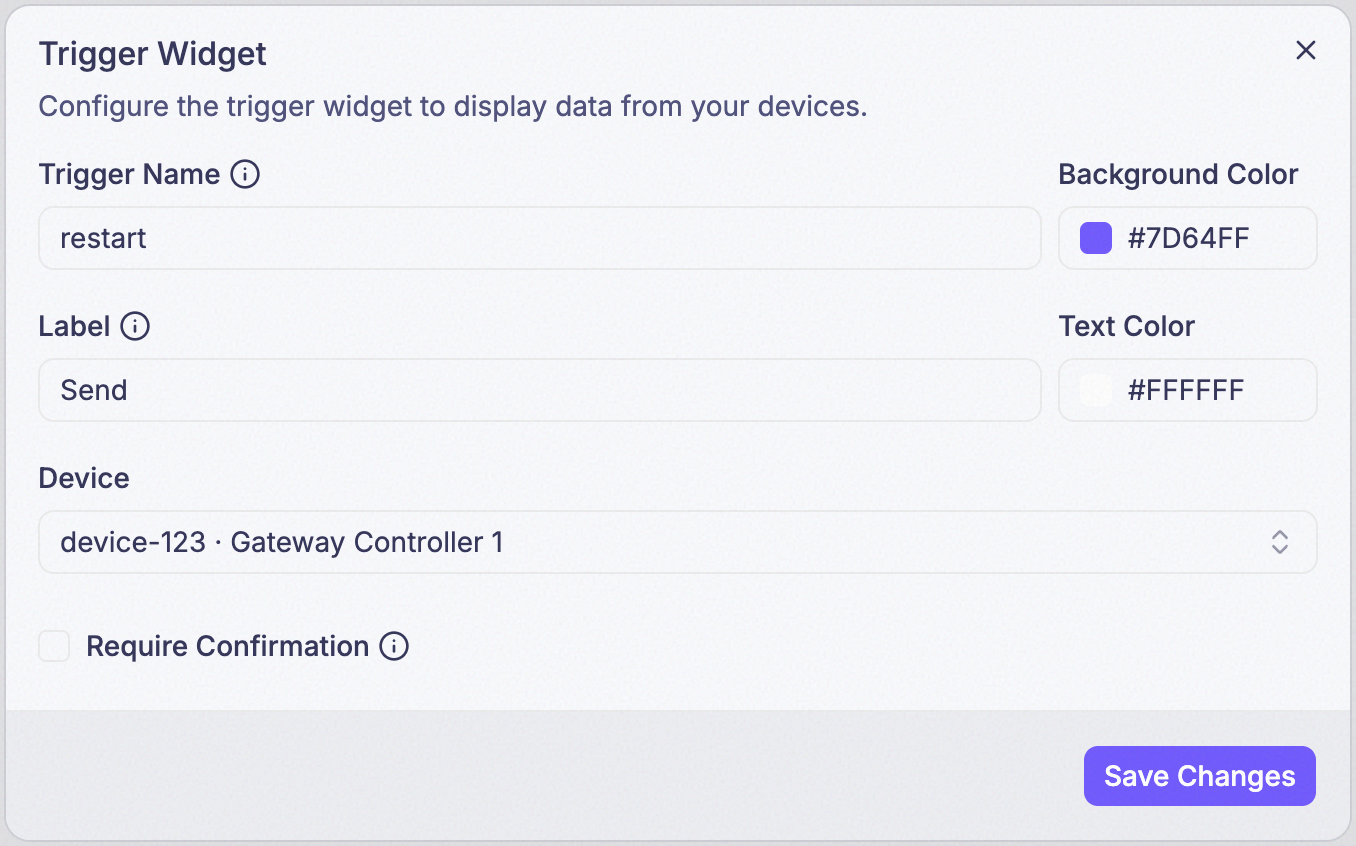
Step 1: Set Trigger Name, Label, Background Color, and Text Color
Trigger Name is the command to send (e.g., restart) — it should match a command name your device’s
application already acts on; a name it doesn’t recognize simply does nothing. Label is the text shown
on the button itself. Background Color and Text Color are two independent color pickers — one
for the button’s fill, one for the Label text on it.
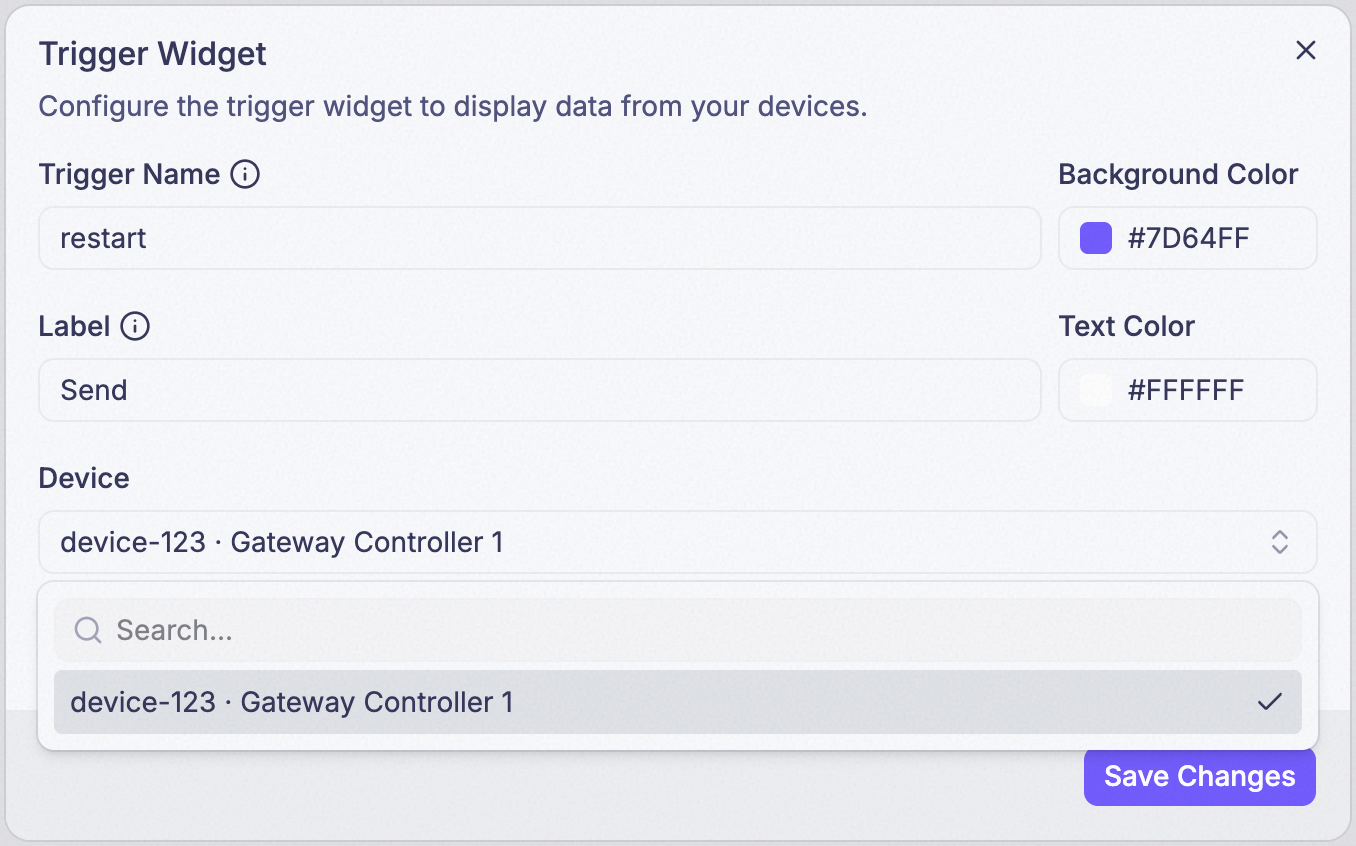
Step 2: Choose a Device
A Trigger always targets one device, never a bundle.
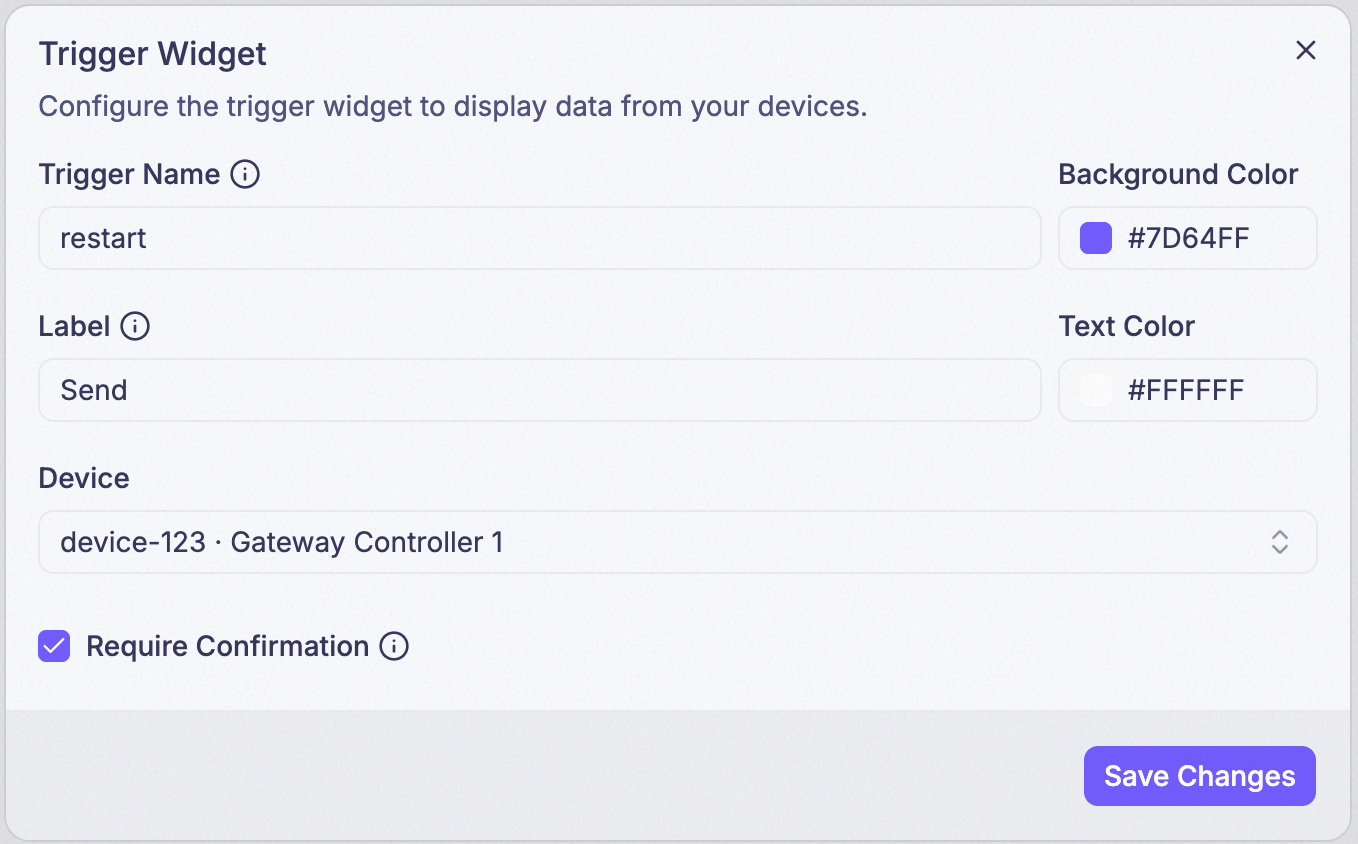
Step 3: Turn on Require Confirmation (optional)
Puts a confirmation prompt in front of the command before it fires.
Who can press this button is governed by role, not by whether the dashboard is read-only — and pinning puts it in front of the whole company. See Triggers send commands back before wiring one up to anything destructive.
Example